
Upload Process Overview
The document upload process in Ravvio is designed to be intuitive while ensuring optimal content processing for your AI agent’s training and performance.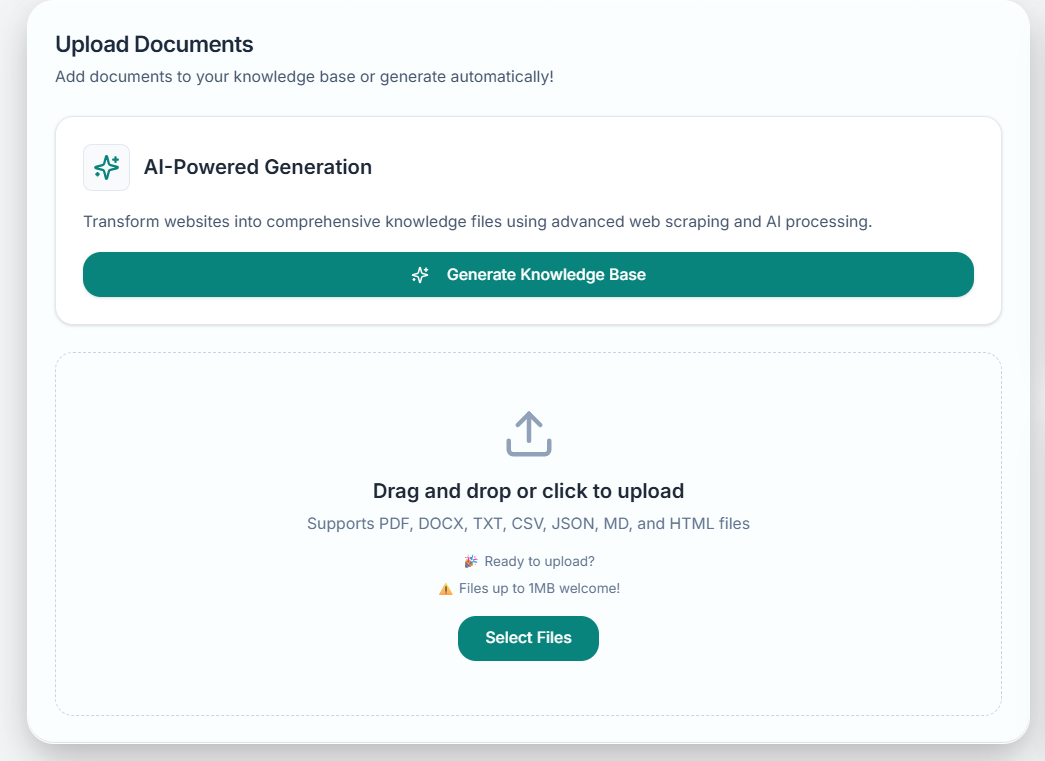
Upload Workflow
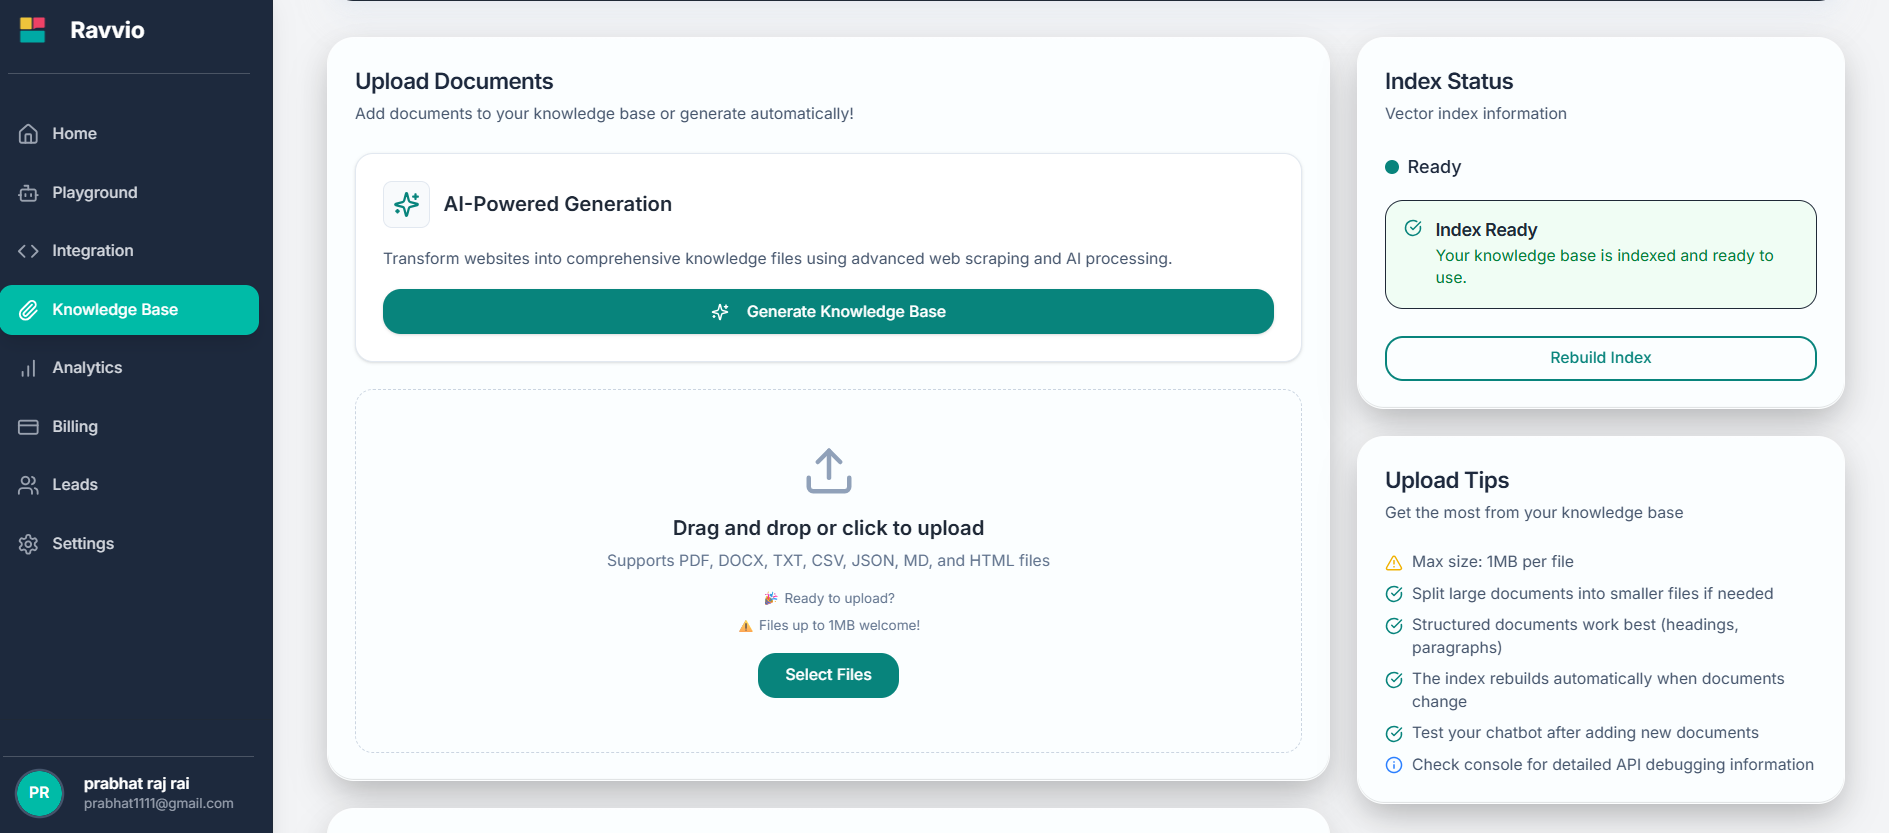
Accessing the Knowledge Base
Navigation Methods
Dashboard Quick Action
Use the “Upload Documents” button from your main dashboard
Main Navigation
Select “Knowledge Base” from the primary navigation menu
Setup Progress
Click “Knowledge Base” from the setup progress tracker
Agent Configuration
Access through agent management configuration panel
File Selection and Upload
Single File Upload
Multiple File Upload
Bulk Upload Process
Multi-Select Files
Multi-Select Files
- Hold Ctrl (Windows) or Cmd (Mac) while clicking files
- Use Shift-click to select ranges of files
- Drag and drop multiple files onto the upload area
- Maximum 10 files per batch upload session
Upload Queue Management
Upload Queue Management
- Files process sequentially to ensure quality
- Monitor individual file progress
- Cancel specific uploads if needed
- Retry failed uploads individually
Drag and Drop Upload
The knowledge base interface supports drag-and-drop functionality:- Drag Files: Select files from your file manager
- Drop Zone: Drop files onto the designated upload area
- Automatic Processing: Files begin uploading and processing immediately
- Progress Tracking: Monitor each file’s upload and processing status
Drag-and-drop works with all supported file formats and respects the same size limitations as traditional uploads.
Upload Progress Monitoring
Progress Indicators
Upload Progress
Real-time progress bar showing file transfer completion percentage
Processing Status
Indicator showing content extraction and analysis progress
Queue Position
Position in processing queue for multiple file uploads
Estimated Time
Approximate time remaining for upload and processing completion
Status Types
| Status | Meaning | Expected Duration | Action Required |
|---|---|---|---|
| Uploading | File transfer in progress | 30 seconds - 2 minutes | Wait for completion |
| Processing | Content extraction and analysis | 1-5 minutes | Monitor progress |
| Indexing | Integration into knowledge base | 30 seconds - 1 minute | None |
| Ready | Available for agent use | Immediate | None |
| Error | Processing failed | N/A | Review and retry |
Content Processing
Automatic Processing Steps
Processing Optimization
Content Quality Factors
Content Quality Factors
- Clear, well-structured text content
- Logical organization with headings and sections
- Factually accurate and up-to-date information
- Relevance to your business and customer needs
Processing Performance
Processing Performance
- File size affects processing time
- Complex formatting may slow processing
- Multiple simultaneous uploads are queued
- System load may impact processing speed
Optimization Tips
Optimization Tips
- Upload during off-peak hours for faster processing
- Organize content with clear headings before upload
- Remove unnecessary formatting to speed processing
- Verify content accuracy before uploading
Upload Verification
Successful Upload Confirmation
Status Confirmation
“Ready” status indicates successful processing and availability
Content Preview
Preview extracted content to verify processing quality
Index Status
Confirmation that content is searchable and accessible to your agent
Agent Testing
Test agent responses using playground to verify content integration
Verification Checklist
Troubleshooting Upload Issues
Common Upload Problems
Upload Fails to Start
Upload Fails to Start
Possible Causes:
- File exceeds size limitations
- Unsupported file format
- Network connectivity issues
- Browser compatibility problems
- Verify file size and format requirements
- Try refreshing the page and re-uploading
- Use a different browser or clear browser cache
- Contact support if issues persist
Processing Stuck or Failed
Processing Stuck or Failed
Possible Causes:
- Corrupted or damaged file
- Complex document structure
- Server processing overload
- Content extraction difficulties
- Try re-uploading the same file
- Simplify document formatting and structure
- Convert to a different supported format
- Contact support for assistance
Poor Content Extraction
Poor Content Extraction
Possible Causes:
- Image-based PDF or scanned documents
- Complex formatting or layout
- Non-standard character encoding
- Heavily formatted documents
- Use text-based documents when possible
- Simplify formatting before upload
- Convert scanned documents using OCR
- Manually create text versions of key content
Error Resolution
Best Practices for Upload Success
Pre-Upload Preparation
Document Preparation Checklist
- Content Review: Ensure information is accurate and current
- Format Optimization: Use supported formats with clean structure
- Size Check: Verify files meet size requirements
- Sensitive Information: Remove confidential or sensitive data
- Structure Verification: Organize with clear headings and sections
- Quality Check: Proofread for errors and clarity
Upload Timing and Strategy
Upload Scheduling
Upload Scheduling
- Upload during off-peak hours for optimal performance
- Process large batches during extended work sessions
- Allow adequate time for processing completion
- Plan uploads around business operational needs
Content Organization
Content Organization
- Group related documents for batch uploads
- Prioritize essential content for initial uploads
- Create logical categories for content management
- Plan knowledge base expansion systematically
Post-Upload Validation
Getting Upload Support
Available Support Resources
Technical Support
Email sujay@ravvio.in for upload-related technical issues
Documentation
Comprehensive guides for upload optimization and troubleshooting
Video Tutorials
Step-by-step visual guides for upload processes
Community Forum
User discussions and shared upload experiences
When to Contact Support
Contact technical support for:- Persistent upload failures after troubleshooting attempts
- Processing errors that cannot be resolved
- File format questions for specific document types
- Performance issues with large or complex uploads
- Integration problems after successful uploads
Include specific error messages, file details, and troubleshooting steps attempted when contacting support for faster resolution.